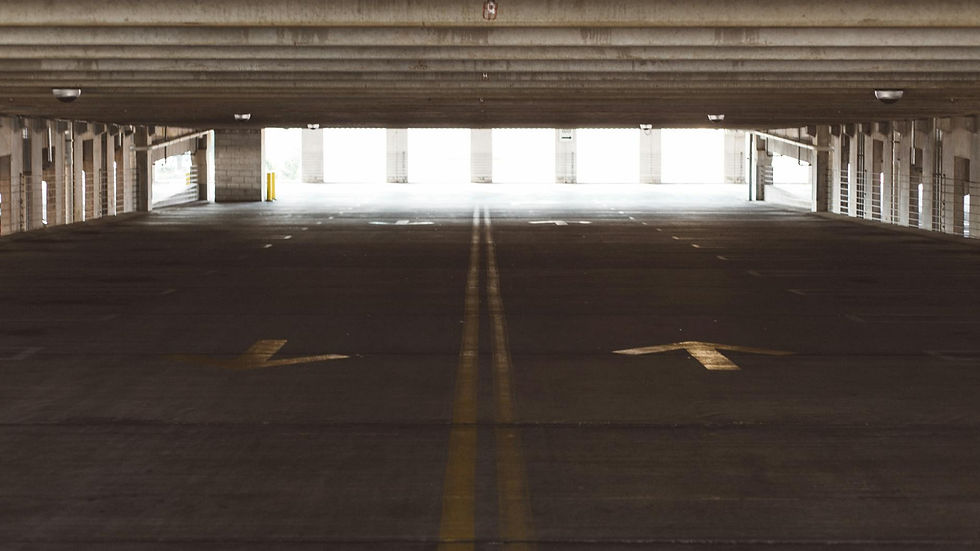
Concrete Sealer: Garage Floor Like a Pro!
- Riley Thorne

- 4 days ago
- 5 min read
Ever wished your garage floor could look as polished and professional as those you see in showrooms or automotive shops? Achieving that pristine, durable surface is more attainable than you might think. The secret? A quality concrete sealer, expertly applied. This article will guide you through the process of selecting and applying a concrete sealer, transforming your garage floor into a space you can be proud of, protecting it for years to come. We'll cover everything from preparation to the best application techniques, ensuring even beginners can achieve professional-looking results.
Why Seal Your Garage Floor?
Before diving into the how-to, let's understand the "why." Your garage floor endures a lot. It's constantly bombarded with oil spills, road salts, heavy vehicles, and general wear and tear. Without protection, concrete is porous and susceptible to staining, cracking, and spalling (surface flaking). Sealing acts as a barrier, preventing these damages and extending the life of your concrete.
Benefits of Sealing
- Prevents Staining: Oil, grease, and other fluids won't penetrate the concrete.
- Resists Cracking and Spalling: Sealer strengthens the surface, making it more resistant to damage from freeze-thaw cycles and heavy loads.
- Easier Cleaning: Sealed surfaces are much easier to clean and maintain. A simple sweep and mop will do the trick.
- Enhances Appearance: Sealers can add a subtle sheen or a glossy finish, improving the overall look of your garage.
- Increases Lifespan: Protecting your concrete from damage means it will last longer, saving you money on repairs in the long run.
According to the Portland Cement Association, properly sealed concrete can last up to five times longer than unsealed concrete, making it a worthwhile investment.
Choosing the Right Concrete Sealer
Selecting the right sealer is crucial for achieving optimal results. There's no one-size-fits-all solution; the best choice depends on your specific needs and preferences.
Types of Concrete Sealers
- Acrylic Sealers: These are a budget-friendly option that provides good protection against water and stains. They are easy to apply but may not be as durable as other types. Acrylic sealers are typically solvent-based or water-based.
- Epoxy Sealers: Epoxy sealers offer excellent durability and resistance to chemicals and abrasion. They provide a hard, glossy finish and are ideal for high-traffic areas. They usually come in two-part kits that require mixing.
- Polyurethane Sealers: Polyurethane sealers are highly resistant to UV damage, making them a good choice for garages with exposed floors. They are also resistant to chemicals and abrasion. They offer a flexible finish, which can help prevent cracking.
- Silicate and Siloxane Sealers: These sealers penetrate deep into the concrete, creating a chemical reaction that strengthens the surface. They don't form a surface film, so they won't change the appearance of the concrete. They provide excellent protection against water damage.
Consider your budget, the level of protection you need, and the desired finish when making your decision. For a garage floor subject to heavy use and potential chemical spills, an epoxy or polyurethane sealer is generally recommended. Look for products specifically designed for garage floors, as these will typically offer superior resistance to oil and chemicals.
Best Garage Concrete Sealer Application: A Step-by-Step Guide
Achieving a professional-looking finish requires careful preparation and application. Follow these steps for the best results.
Step 1: Preparation is Key
This is arguably the most important step. A clean, dry, and properly prepared surface is essential for proper sealer adhesion.
- Remove Everything: Clear the entire garage floor of all items.
- Clean the Floor: Thoroughly clean the floor with a concrete cleaner and degreaser. Scrub away any oil stains, dirt, and grime. Consider using a pressure washer for stubborn stains.
- Etch the Concrete: Etching opens the pores of the concrete, allowing the sealer to penetrate and bond properly. Use a concrete etching solution (muriatic acid is commonly used but handle with extreme caution) or mechanical grinder. Follow the manufacturer's instructions carefully.
- Rinse Thoroughly: Rinse the floor thoroughly with clean water to remove all traces of the etching solution.
- Let it Dry: Allow the floor to dry completely before applying the sealer. This may take 24-48 hours depending on the humidity and temperature. Use a moisture meter to confirm the concrete is dry enough.
Step 2: Application
Now that your floor is prepped, it's time to apply the sealer.
- Read the Instructions: Carefully read and follow the manufacturer's instructions for your chosen sealer.
- Mix the Sealer (if required): For two-part epoxy or polyurethane sealers, mix the components according to the manufacturer's instructions. Use a drill with a mixing paddle for best results.
- Apply the Sealer: Use a roller or sprayer to apply the sealer evenly across the floor. Apply in thin, even coats to avoid drips and puddles. Overlapping each stroke by a few inches is recommended.
- Apply Additional Coats (if required): Most sealers require two coats for optimal protection. Allow the first coat to dry completely before applying the second coat, as per the manufacturer's instructions.
- Allow to Cure: Allow the sealer to cure completely before using the garage floor. This may take several days, depending on the type of sealer and the environmental conditions.
Step 3: Maintenance
Once your floor is sealed, regular maintenance will help keep it looking its best.
- Clean Regularly: Sweep or vacuum the floor regularly to remove dirt and debris.
- Clean Spills Immediately: Wipe up spills immediately to prevent staining.
- Use Mild Detergent: When cleaning, use a mild detergent and water. Avoid harsh chemicals or abrasive cleaners.
- Consider a Top Coat: For high-traffic areas, consider applying a clear top coat to protect the sealer from wear and tear.
Complete step-by-step guides for beginners
For novice DIYers, the most important thing is patience. Rushing any of these steps leads to disastrous results. Spend the money on professional-grade rollers and applicators for the best evenness. Consider renting a concrete grinder rather than using chemical etching, as it's generally more user-friendly. And always, always wear proper safety gear, including gloves, eye protection, and a respirator.
Troubleshooting Common Problems
Even with careful preparation, problems can sometimes arise. Here are a few common issues and how to address them.
- Blistering: Blistering can occur if the concrete is not completely dry or if the sealer is applied too thickly. Address this by lightly sanding the affected area and reapplying the sealer in thin coats.
- Peeling: Peeling can occur if the sealer is not properly bonded to the concrete. This may be due to inadequate surface preparation or the use of an incompatible sealer. To fix this, remove the peeling sealer, properly prepare the surface, and apply a compatible sealer.
- Uneven Finish: An uneven finish can result from improper application techniques. Sanding down high spots and applying another thin coat often solves this issue.
Conclusion
Sealing your garage floor is a worthwhile investment that can protect your concrete from damage, enhance its appearance, and extend its lifespan. By following these steps and choosing the right sealer for your needs, you can achieve a professional-looking finish that will last for years to come. From preparation to Best Garage Concrete Sealer Application and maintenance, now you have a guide to take your garage floor from drab to fab.
Ready to transform your garage floor like a pro? Start by evaluating your needs, selecting the appropriate sealer, and dedicating the time and effort required for proper preparation and application. Get started today and enjoy a durable, beautiful garage floor for years to come!


Comments