Insulating Suspended Ceilings: DIY Guide
- Riley Thorne

- 1 day ago
- 6 min read
Are you tired of that drafty feeling in your home or office, especially in rooms with suspended ceilings? Do you cringe at the thought of skyrocketing energy bills? You're not alone. Many homeowners grapple with inefficient spaces due to inadequate insulation above their drop ceilings. Fortunately, insulating a suspended ceiling is a DIY project that can significantly improve comfort and reduce energy costs. This complete guide will walk you through the process, step-by-step, empowering you to tackle this project with confidence. We'll cover everything from choosing the right insulation to the installation process, ensuring a warmer, quieter, and more energy-efficient space.
Why Insulate Your Suspended Ceiling?
The Benefits of Insulation
Insulating your drop ceiling offers a multitude of advantages beyond just temperature control. Properly insulated ceilings contribute to a more comfortable living or working environment year-round. Moreover, it will significantly reduce your utility expenses. Consider the following benefits:
-Reduced Energy Bills: Insulation acts as a barrier to heat transfer. It keeps the warmth in during winter and prevents hot air from entering during summer, minimizing the strain on your HVAC system and lowering your energy consumption.
-Improved Comfort: Insulated ceilings eliminate cold drafts and hot spots, creating a more consistent and comfortable indoor temperature.
-Noise Reduction: Insulation materials absorb sound waves, reducing noise transmission between floors or from outside sources. This is particularly valuable in offices, home theaters, or multi-family dwellings.
-Increased Property Value: Energy-efficient homes are more attractive to potential buyers, and insulation is a key factor in improving a home's energy rating.
-Moisture Control: Some types of insulation can help prevent condensation and moisture buildup, reducing the risk of mold growth and structural damage.
Common Problems Without Insulation
Without proper insulation, suspended ceilings can become major sources of energy loss. Heat rises, and if there’s no barrier, it will escape through the ceiling into the unconditioned space above. This leads to higher heating bills in the winter. In the summer, the opposite occurs. Hot air penetrates the ceiling, forcing your air conditioner to work harder and driving up cooling costs. This often translates to inconsistent temperatures throughout the room, making it difficult to maintain a comfortable environment. Condensation issues can also arise, potentially leading to mold and damaging your ceiling tiles.
Understanding Your Options: Types of Insulation
Choosing the right type of insulation is critical for achieving optimal results. Several options are available, each with its own advantages and disadvantages. Here's an overview:
Batt Insulation
Batt insulation, typically made of fiberglass or mineral wool, is a popular and cost-effective choice. It comes in pre-cut sections that fit snugly between ceiling joists. Fiberglass batts are relatively inexpensive and easy to install. Mineral wool batts offer better soundproofing and fire resistance.
-Pros: Affordable, easy to install, widely available.
-Cons: Can be itchy to handle (wear gloves and a mask), may require cutting for custom fits, less effective in tight spaces.
Roll Insulation
Roll insulation is similar to batt insulation but comes in long rolls that can be cut to the desired length. This is useful for covering large areas quickly. It’s also commonly made of fiberglass or mineral wool.
-Pros: Covers large areas efficiently, cost-effective, readily available.
-Cons: Similar drawbacks to batt insulation, may require more precise cutting.
Rigid Foam Board Insulation
Rigid foam boards, made of polystyrene or polyurethane, offer excellent insulation value and are resistant to moisture. They are typically used in basements or exterior walls. However, they can also be used above suspended ceilings, especially if space is limited.
-Pros: High R-value (insulating power), moisture-resistant, durable.
-Cons: More expensive than batts or rolls, requires precise cutting, may require special fasteners.
Loose-Fill Insulation
Loose-fill insulation, such as cellulose or fiberglass, is blown into the space above the ceiling using a specialized machine. This is a good option for filling irregular spaces or areas that are difficult to reach with batts or rolls. However, it typically requires professional installation.
-Pros: Fills irregular spaces effectively, high R-value, good for hard-to-reach areas.
-Cons: Requires specialized equipment and professional installation, can settle over time.
DIY Installation: Step-by-Step Guide
Safety First!
Before you begin, prioritize your safety.
-Wear safety glasses to protect your eyes from dust and debris.
-Use a dust mask or respirator to avoid inhaling insulation fibers.
-Wear gloves to protect your hands from irritation.
-Work in a well-ventilated area.
-Turn off the power to any electrical fixtures in the area.
Step 1: Assess Your Ceiling
Carefully inspect your suspended ceiling. Identify any existing insulation (or lack thereof) and assess the available space. Measure the area you plan to insulate to determine how much material you need. Check for any signs of leaks or moisture damage and address them before installing insulation.
Step 2: Gather Your Materials and Tools
Here's a list of what you'll likely need:
-Insulation material (batts, rolls, or rigid foam boards)
-Utility knife or insulation knife
-Measuring tape
-Straight edge or ruler
-Safety glasses
-Dust mask or respirator
-Gloves
-Caulk or sealant (for air sealing gaps)
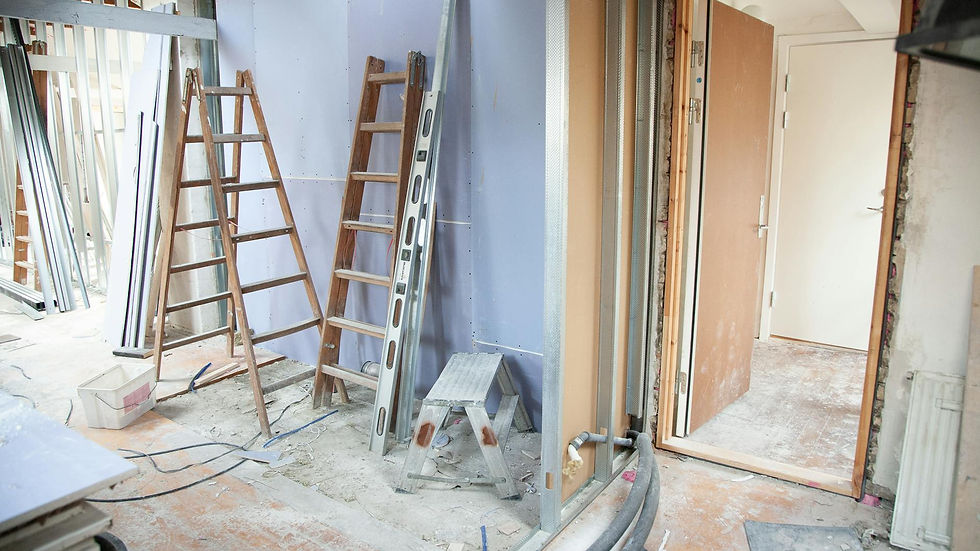
-Ladder or step stool
Step 3: Cut and Fit the Insulation
If using batts or rolls, measure the distance between the ceiling joists or support structures. Cut the insulation to fit snugly within these spaces. Ensure that the insulation fills the entire cavity without being compressed. Compressed insulation loses its R-value. For rigid foam boards, measure the area and cut the boards to fit. Use caulk or sealant to seal any gaps around the edges of the boards.
Step 4: Install the Insulation
Carefully place the insulation between the ceiling joists or support structures. Ensure that the insulation is evenly distributed and that there are no gaps or voids. If using faced insulation (with a paper or foil backing), the facing should be installed facing down into the room. If using rigid foam boards, secure them in place with construction adhesive or fasteners recommended by the manufacturer.
Step 5: Air Sealing (Critical!)
Air sealing is crucial for maximizing the effectiveness of your insulation. Seal any gaps or cracks around pipes, wires, or other penetrations with caulk or sealant. This will prevent air leakage and improve energy efficiency. Air leaks can significantly reduce the performance of your insulation.
Step 6: Replace Ceiling Tiles
Carefully replace the ceiling tiles, ensuring that they are properly aligned and securely in place. Avoid compressing the insulation when replacing the tiles. Double-check that all electrical wiring is safely routed.
Complete guides for homeowners and DIY: Tips and Best Practices
Optimizing Your Insulation Project
-Choose the Right R-Value: The R-value of insulation measures its resistance to heat flow. Higher R-values offer better insulation. Consult local building codes or energy efficiency experts to determine the recommended R-value for your climate zone.
-Proper Ventilation: Ensure that the space above the suspended ceiling is adequately ventilated. This will help prevent moisture buildup and mold growth. Consider installing vents or soffits if necessary.
-Consider Professional Help: If you are uncomfortable working with insulation or if you have a complex ceiling configuration, consider hiring a professional insulation contractor.
-Inspect Regularly: Periodically inspect your insulation for damage or settling. Replace or repair any damaged insulation to maintain optimal performance.
-Prioritize Air Sealing: Emphasize air sealing over simply adding more insulation. Reducing air leaks is often more effective than increasing the R-value of your insulation.
Insulating Drop/Suspended Ceilings Demystified
Insulating your suspended ceiling is a worthwhile investment that can significantly improve your home's comfort, energy efficiency, and value. By following these steps and taking the necessary precautions, you can successfully complete this DIY project and enjoy the benefits of a warmer, quieter, and more energy-efficient space. Remember to prioritize safety, choose the right insulation material, and focus on air sealing for optimal results.
Final Thoughts
Insulating a suspended ceiling, while requiring some effort, is a project well within the capabilities of most homeowners. By carefully selecting the right materials and following the steps outlined in this guide, you can significantly improve the energy efficiency and comfort of your home or office. Don't delay; start planning your insulation project today and enjoy the long-term benefits. Remember to always prioritize safety and consult with professionals if you have any doubts or concerns. Take the first step towards a more comfortable and energy-efficient living space today. If you have any questions, leave a comment below!


Comments