DIY A-Frame Sauna: Build Your Own (Step-by-Step)
- Riley Thorne

- 1 day ago
- 4 min read
Imagine stepping into your backyard and escaping into the warmth and tranquility of your very own sauna. Sounds appealing, right? Building your own A-Frame sauna is more achievable than you might think, offering a rewarding DIY project with lasting benefits. This guide will walk you through the entire process, from planning to enjoying your new backyard oasis. We'll cover everything from material selection to construction techniques, empowering you to embark on your own DIY A-Frame Sauna Construction. So, let’s dive in and discover how you can create your personal sanctuary!
Planning Your A-Frame Sauna
Before you start swinging a hammer, careful planning is crucial. This stage will determine the success and longevity of your DIY A-Frame Sauna Construction.
Size and Location
Consider the size of your yard and how many people you want to accommodate comfortably. A smaller sauna (6x6 ft) is suitable for 1-2 people, while a larger one (8x8 ft or more) can accommodate 4-6. Choose a location that's relatively level, offers good drainage, and is easily accessible. Ensure you comply with local building codes and regulations regarding setbacks from property lines.
Design Considerations
The classic A-Frame design is simple and efficient, but you can customize it to suit your aesthetic preferences. Consider the placement of the door, window (if desired), and the orientation of the benches inside. Think about the type of wood you want to use for the interior and exterior cladding, as this will significantly impact the look and feel of your sauna.
Materials List and Budget
Creating a detailed materials list is essential for staying on budget. Common materials include:
Lumber (for framing, cladding, benches)
Roofing materials (shingles, metal roofing)
Insulation (mineral wool, foil-faced foam board)
Vapor barrier
Sauna heater (electric or wood-burning)
Door and window (optional)
Fasteners (screws, nails)
Research material prices and factor in potential cost overruns. A realistic budget will help you avoid surprises later on in your DIY A-Frame Sauna Construction journey.
Step-by-Step DIY Guide
Now that you've planned your sauna, let's get building! This complete guides and step-by-step DIY will guide you through the essential construction phases.
Foundation and Framing
Start by building a solid foundation. A gravel bed with concrete blocks or a poured concrete slab are common choices. Ensure the foundation is level to prevent structural issues. Construct the A-Frame using pressure-treated lumber, following your chosen dimensions. Use proper joinery techniques to ensure the frame is strong and stable.
Insulation and Vapor Barrier
Insulation is crucial for retaining heat and improving energy efficiency. Install insulation between the framing members, ensuring it's properly fitted to prevent air gaps. A vapor barrier is essential to prevent moisture from penetrating the insulation, which can lead to mold and rot. Overlap the vapor barrier sheets and seal the seams with tape.
Interior and Exterior Cladding
For the interior, use softwood like cedar or redwood, which are naturally resistant to moisture and have a pleasant aroma. Install the cladding horizontally or vertically, depending on your preference. For the exterior, you can use a variety of materials, such as cedar siding, pine siding, or metal roofing. Ensure the exterior cladding is properly sealed and protected from the elements.
Roofing
Install the roofing material according to the manufacturer's instructions. Overlap the roofing sheets properly to prevent leaks. Consider adding ventilation to the roof to prevent moisture buildup.
Door, Window, and Benches
Install the door, ensuring it seals tightly to prevent heat loss. If adding a window, choose a tempered glass window designed for high temperatures. Build benches at different heights to accommodate different preferences. Cedar or redwood are excellent choices for sauna benches.
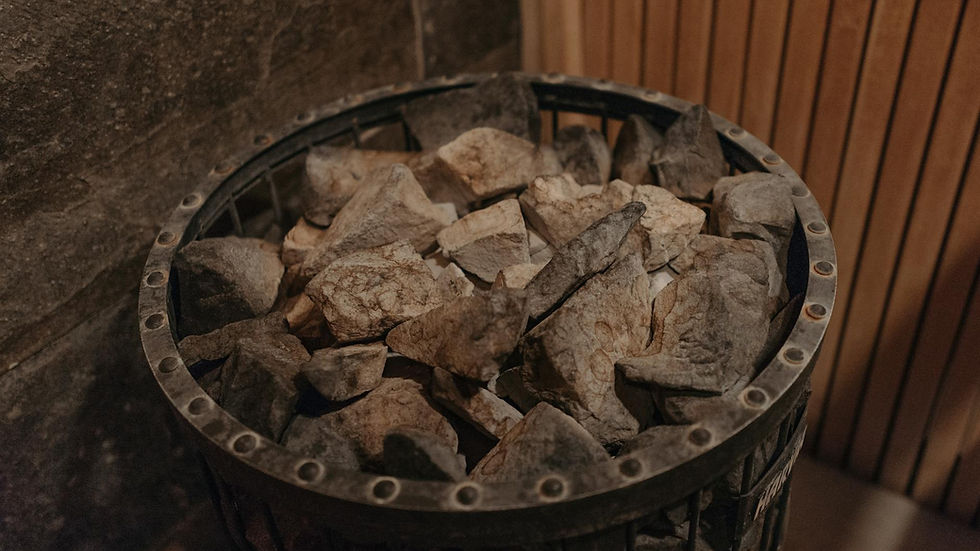
Installing the Sauna Heater
Choose either an electric or wood-burning sauna heater, based on your preference and available resources. Follow the manufacturer's instructions carefully during installation. Ensure proper ventilation and clearance around the heater to prevent fire hazards. Electric heaters require professional electrical work.
Safety Considerations
Building a sauna involves working with power tools, electricity, and high temperatures. Safety should always be your top priority during your DIY A-Frame Sauna Construction.
Wear appropriate safety gear, including safety glasses, gloves, and a dust mask.
Follow all manufacturer's instructions for power tools and equipment.
If installing an electric heater, hire a qualified electrician.
Ensure proper ventilation in the sauna to prevent carbon monoxide buildup.
Never leave a sauna unattended while it's in use.
Maintenance and Enjoyment
Once your sauna is complete, regular maintenance will help prolong its life. Clean the interior regularly, and check for any signs of leaks or damage. With proper care, your A-Frame sauna will provide years of relaxation and enjoyment.
Cleaning and Upkeep
Wipe down the benches and walls after each use to remove sweat and dirt. Use a mild detergent and water for cleaning. Inspect the heater regularly and remove any debris. Check the roofing and siding for any signs of damage and make repairs as needed.
Conclusion
Building your own A-Frame sauna is a rewarding experience that offers both personal satisfaction and a valuable addition to your home. By following this complete guides and step-by-step DIY, you can create your own personal sanctuary, where you can relax, rejuvenate, and escape from the stresses of everyday life. Remember to plan carefully, prioritize safety, and enjoy the process. Ready to get started? Research local building codes, gather your materials, and embark on your DIY A-Frame Sauna Construction journey today! Imagine the satisfaction of stepping into a sauna you built with your own two hands.


Comments